CREATE APPLE WALLET PASS FROM IMAGE: THE COMPLETE 2026 GUIDE
Step-by-step tutorial for converting any image into a functional Apple Wallet pass that customers will actually use.
According to Reviews.org, the average American checks their phone 186 times per day. Their lock screen is prime real estate. Yet most brands are fighting for attention in crowded email inboxes and SMS threads that get ignored.
Apple Wallet passes live directly on the lock screen. No app download required. No notification fatigue. Just persistent, valuable presence exactly where your customers look most often.
Here's how to transform any image into a wallet pass that drives real engagement and sales.
What Makes Apple Wallet Passes Different
Traditional marketing channels interrupt. Wallet passes integrate.
When someone adds your pass to Apple Wallet, you're not just another notification. You're part of their daily routine. The pass sits between their credit cards and boarding passes, items they interact with constantly.
The key advantage: wallet passes create persistent brand presence without requiring a customer to download an app, opt into notifications, or do anything beyond a single tap to add the pass.
Required Components for Any Wallet Pass
Before you convert your image, understand what Apple's PassKit framework requires for a functional pass.
Visual Elements:
Logo image (160x50 pixels)
Strip image (375x144 pixels for full-width display)
Background color (hex code)
Foreground text color (hex code)
Required Fields:
Organization name
Pass description
Serial number (unique identifier)
Team identifier (from Apple Developer account)
Optional But Recommended:
Barcode or QR code
Relevant date
Location trigger
Back-side information
Your original image becomes the strip image, the main visual customers see when viewing the pass.
Step 1: Prepare Your Source Image
Start with high-quality source material. The image should be 375x144 pixels for optimal display, but you can resize during the creation process.
Best practices for wallet pass images:
Use high contrast between text and background
Keep important text away from edges (20-pixel safety margin)
Avoid busy patterns that compete with pass information
Include your brand colors but ensure readability
Dark images with light text perform better on lock screens. They're easier to read in various lighting conditions.
Step 2: Choose Your Creation Method
You have three main options for converting images to wallet passes.
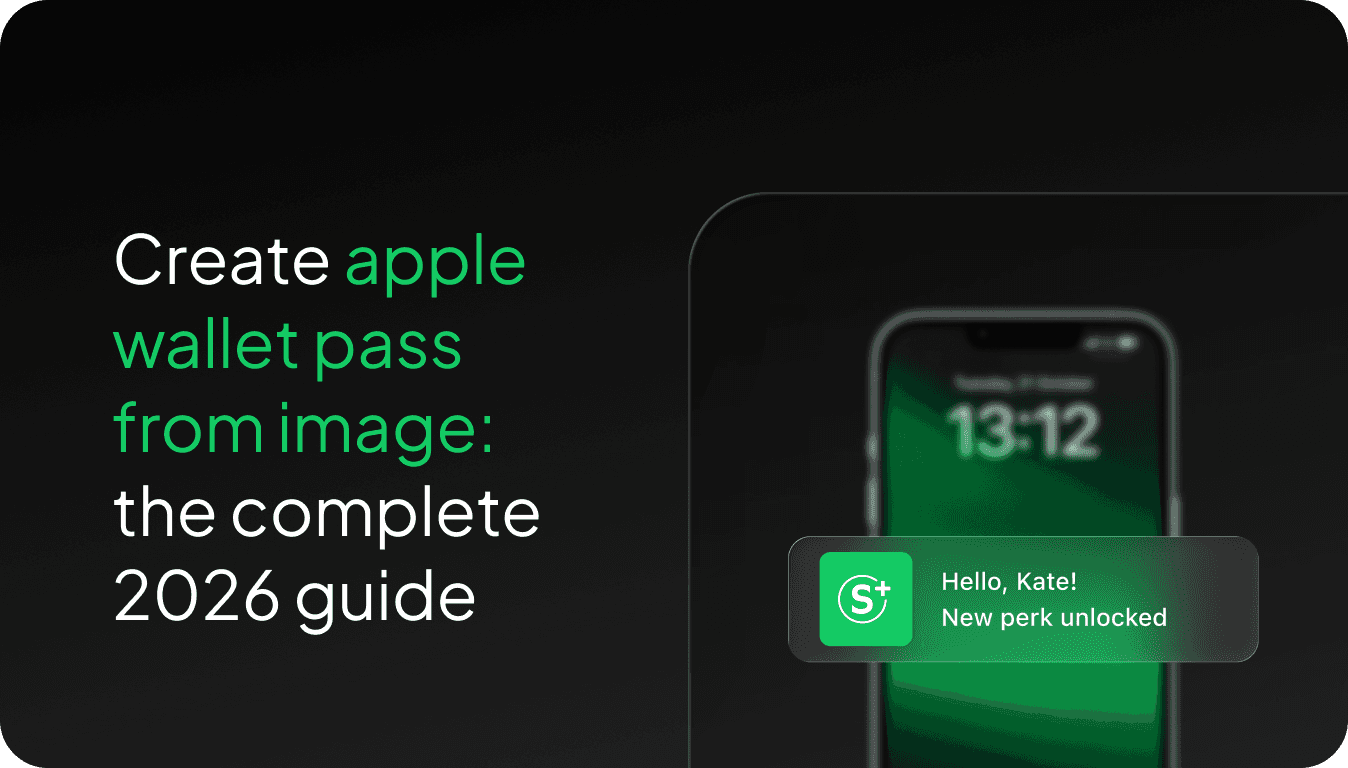
Method 1: Subscribfy Wallet Pass Builder The fastest route for ecommerce brands. Subscribfy's wallet pass feature converts images to passes in under 5 minutes. Built specifically for Shopify stores with automatic customer sync, geolocation triggers, and push notification management.
Method 2: PassKit or Similar Services Third-party platforms that handle the technical requirements. Upload your image, fill in required fields, download the .pkpass file. Expect $29–99/month for basic functionality.
Method 3: Manual Development Build passes from scratch using Apple's PassKit framework. Requires developer skills and an Apple Developer account ($99/year). Only recommended if you need highly custom functionality.
Step 3: Configure Pass Triggers and Actions
Static wallet passes are limited in value. The power comes from automated triggers that create timely interactions.
Location-Based Triggers Set geographic boundaries around your stores, pop-ups, or events. When customers enter these areas, the pass appears on their lock screen. This works even when your app isn't open.
Time-Based Triggers Schedule pass updates for sales, product launches, or membership renewals. The pass updates automatically without requiring customer action.
Purchase-Based Triggers Connect passes to order history. When a customer buys something, their pass can update with shipping information, loyalty points, or exclusive offers.
Push notification click-through rates run as high as 7x higher than email marketing. Location and behavioral triggers that make notifications relevant push those rates higher still.
Step 4: Add Dynamic Content Fields
Transform your static image into an interactive experience by adding dynamic fields.
Membership Information:
Current store credit balance
Points accumulated
Membership tier status
Next renewal date
Promotional Content:
Limited-time discount codes
Early access notifications
Exclusive sale announcements
Practical Information:
Store hours
Contact information
Social media links
Website shortcut
Step 5: Test and Deploy
Before launching to all customers, test your wallet pass across different devices and iOS versions.
Testing checklist:
Pass displays correctly on iPhone and Apple Watch
All text is readable in light and dark modes
Location triggers activate at appropriate distances
Push notifications deliver successfully
Pass updates reflect changes in real time
Deploy gradually. Start with your VIP customers or email subscribers who already engage regularly with your brand.
Integration with Existing Systems
The most successful wallet pass implementations connect to existing customer data. If you're running loyalty programs or memberships, passes should sync automatically.
For Shopify brands, this integration is critical. Customer data, purchase history, and membership status should flow seamlessly into wallet pass content. Subscribfy handles this connection natively, syncing Shopify customer data to wallet passes in real time.
Measuring Success: Key Metrics to Track
Focus on these indicators rather than vanity metrics.
Adoption Rate: Percentage of customers who add the pass when offered.
Retention Rate: Percentage of passes still active after 30, 60, and 90 days.
Engagement Rate: How often customers view or interact with pass content.
Conversion Rate: Sales generated from wallet pass interactions versus other channels.
Track your own benchmarks over time. Industry averages vary significantly by category, audience, and offer quality.
Common Mistakes to Avoid
Overcomplicating the design. Simple, clean passes consistently outperform busy ones. One clear benefit beats five vague ones.
Ignoring location privacy. Always explain why you need location access. Customers who understand the value opt in at higher rates.
Sending too many updates. Limit pass updates to genuinely valuable information. Frequency without relevance trains customers to ignore you.
Forgetting the back side. Use the reverse side for detailed information, links, and terms. It keeps the front clean while giving engaged customers more to explore.
The Real Competitive Advantage
Creating a wallet pass from an image isn't about the technical process. It's about claiming permanent space on your customers' devices.
While competitors fight for temporary attention through email and SMS, wallet passes create persistent presence. Your brand becomes part of their daily phone interactions rather than an interruption to them.
Subscribfy's wallet pass solution removes the technical complexity while maintaining this strategic advantage. Ecommerce brands can launch wallet passes in days, not months, with automatic customer sync and no developer requirements.
The question isn't whether you should create wallet passes. It's whether you'll claim that lock screen real estate before your competitors do.

Book a meeting with our sales team now!
Create predictable revenue from the customers you already have.